The Course
About The Course
Quick Facts
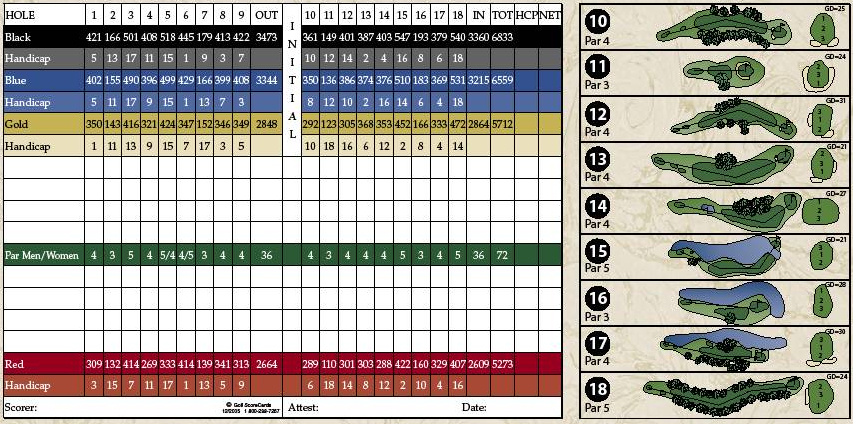
Holes 18 Par 72 Length 6710 yards Slope 123
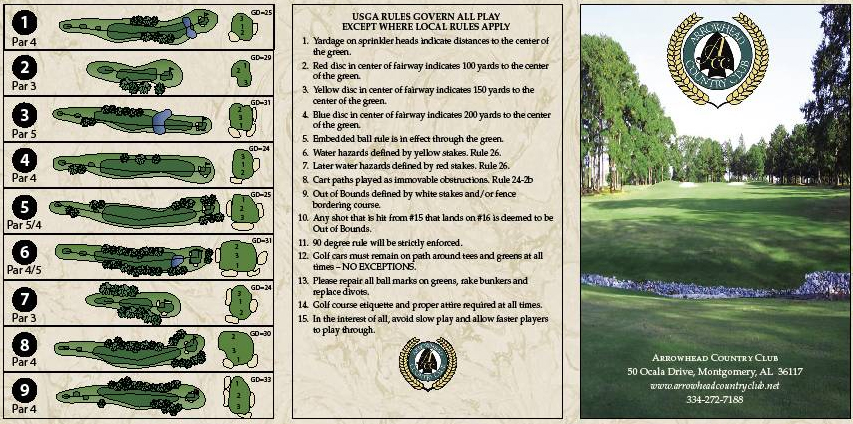
- Year built: 1974
- Architect(s): Cam Hardigree
- Season: Year round
Scroll down to view our score card and also tour the course.
If you have more questions or concerns, please contact our Head Professional, Holly Smithart, in the pro shop (334) 272-7180.
Score Card
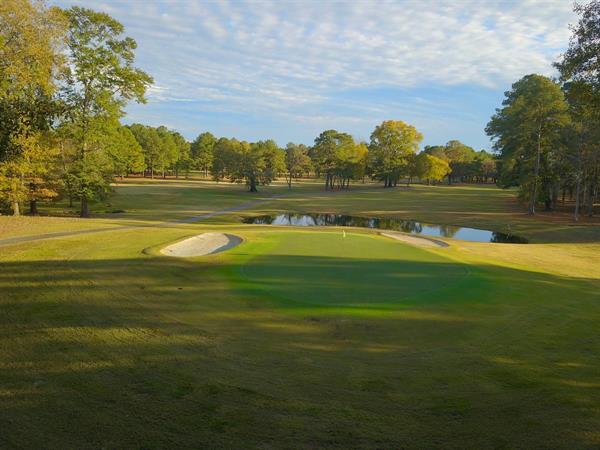
Course Tour
- Hole 1
- Hole 2
- Hole 3
- Hole 4
- Hole 5
- Hole 6
- Hole 7
- Hole 8
- Hole 9
- Hole 10
- Hole 11
- Hole 12
- Hole 13
- Hole 14
- Hole 15
- Hole 16
- Hole 17
- Hole 18
TEE INFORMATION
BLACK - 421
BLUE - 402
GOLD - 350
RED - 309
PAR - 4
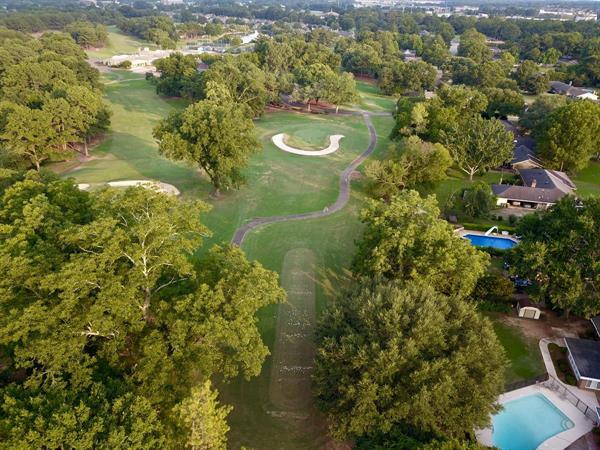
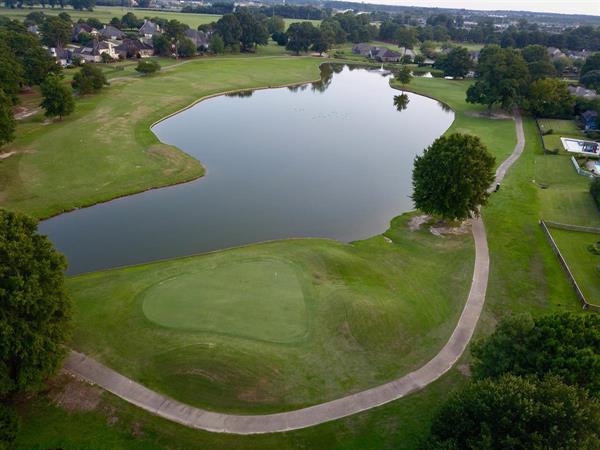
A very challenging Par 4 starting hole - the tee shot is the key to a good score. While not an extremely long hole, the golfer is required to hit his second shot of the day over water to a green protected by sand in the front left and on the right side. Take enough club to insure you carry the water – all of the trouble is in the front.
TEE INFORMATION
BLACK - 166
BLUE - 155
GOLD - 143
RED - 132
PAR - 3
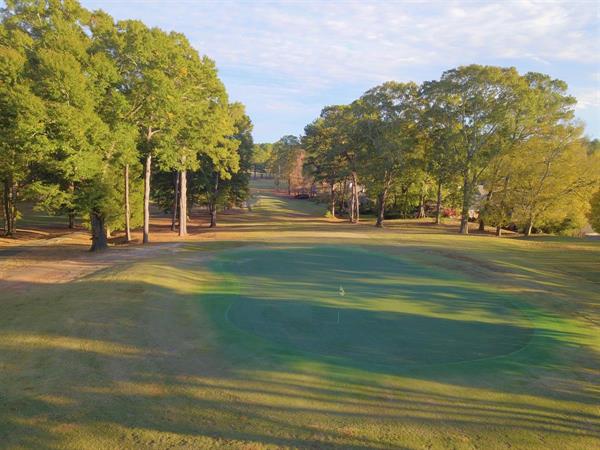
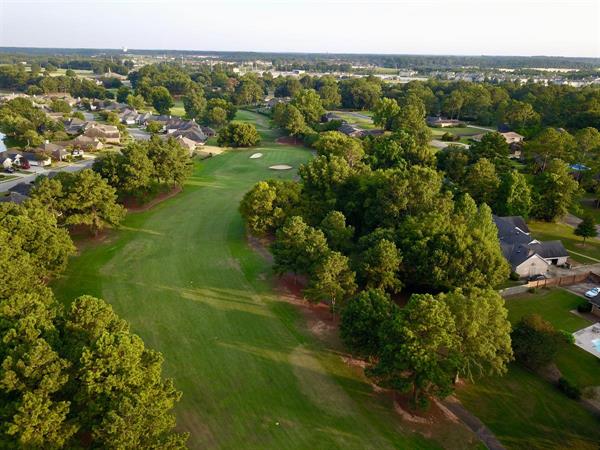
A really good Par 3 hole. The tee shot is uphill with out of bounds on the left and trees on the right. While there are no bunkers on this hole, watch out for the false front of the green. It will really help your score if you are on the correct tier of the Back to front sloping green.
TEE INFORMATION
BLACK - 501
BLUE - 490
GOLD - 416
RED - 414
PAR - 5
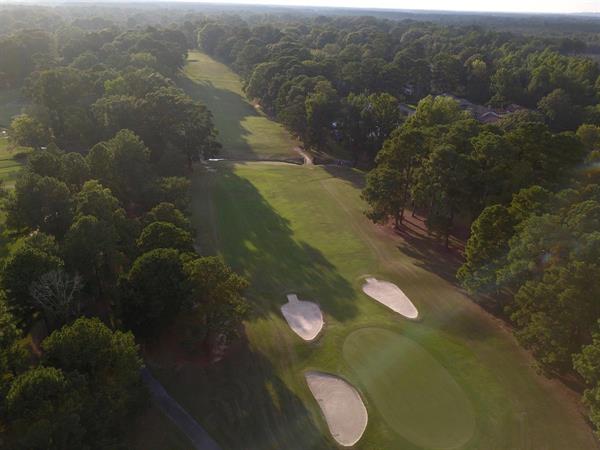
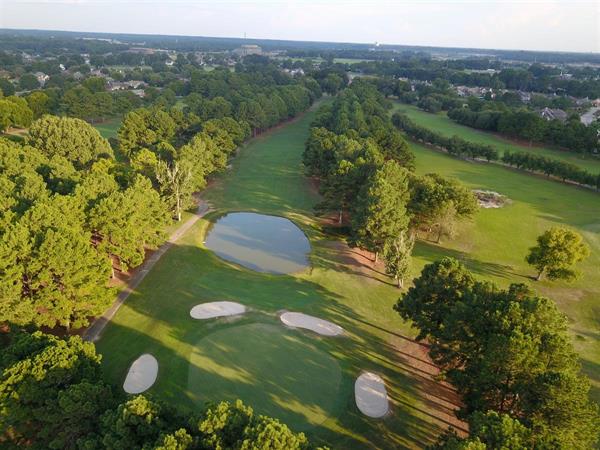
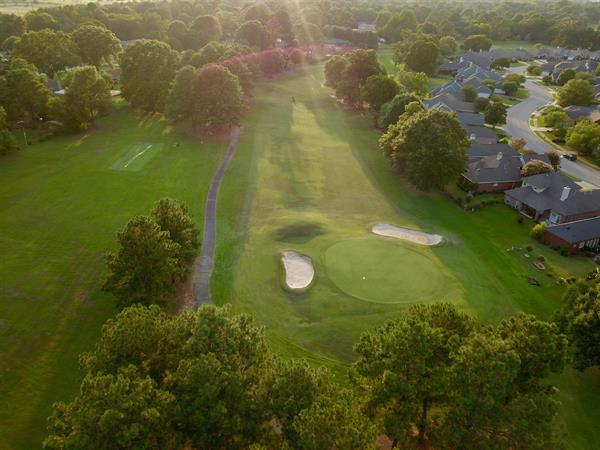
This Par 5 hole is very reachable for the low handicapper and very fair for all levels of players. The signature hole of Arrowhead Country Club has a large green framed in the front corners by arrowhead-shaped sand traps. There is also a sand trap on the right that cannot be seen from the fairway, so cheat a little left with your approach shot.
TEE INFORMATION
BLACK - 408
BLUE - 396
GOLD - 321
RED - 269
PAR - 4
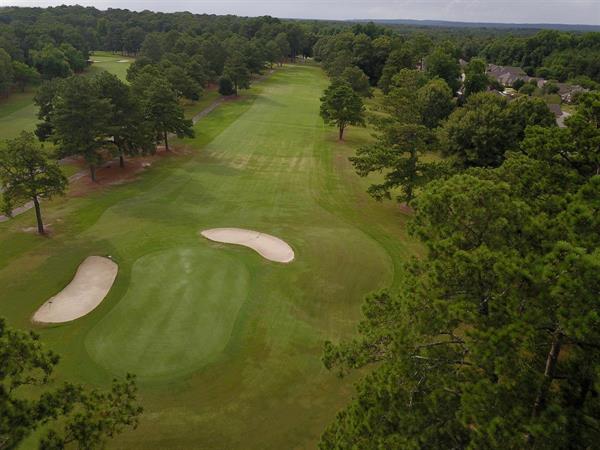
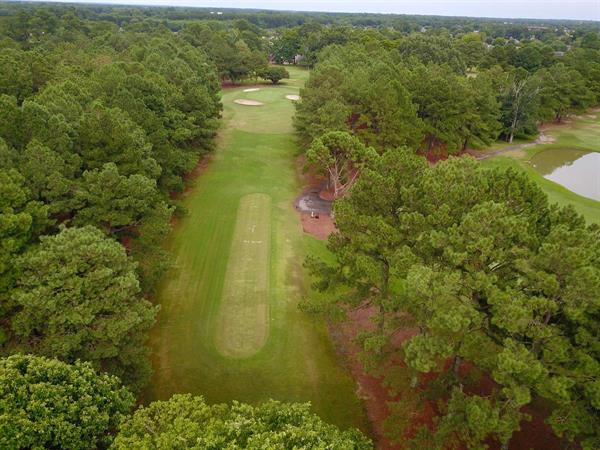
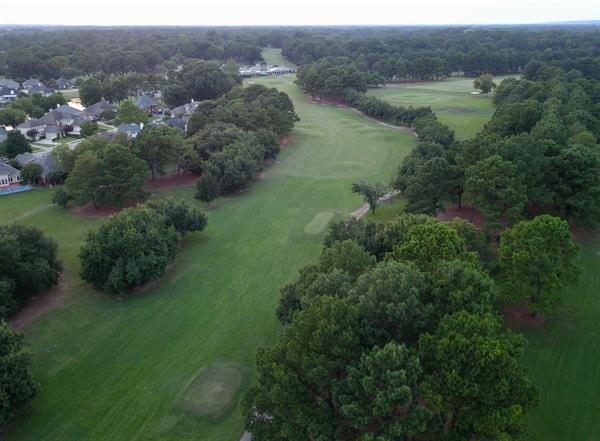
A long straightaway Par 4. There is out of bounds on the left and trees on the right. The green is well protected by a sand trap in the front left that is visible from the fairway and a hidden trap on the right. With a good tee shot, most players will have a medium iron to the green.
TEE INFORMATION
BLACK - 518
BLUE - 499
GOLD - 424
RED - 333
PAR - 5/4
A picturesque dogleg left Par 5. Once again the tee shot is the key on this hole. The shortest route is to hit the ball down the left side, but watch out for the out-cropping of trees that protect that shot. The safe shot is right, but it is easy to over-shoot the fairway. Most golfers will not attempt to reach this green in 2 since it is so well protected in the front by a large bunker. There are also bunkers on the left and right. A good tee shot and a good lay-up will leave only a short wedge to the green. Birdie is very possible on this hole.
TEE INFORMATION
BLACK - 445
BLUE - 429
GOLD - 347
RED - 414
PAR - 5/4
The number 1 handicap hole on Arrowhead Country Club. This long Par 4 used to be a Par 5, but was shortened to add a challenge to the course. Only the longest of hitters will have a short iron to a very large green – most players will have to hit a fairway wood or a long iron. Watch out, there is water and bunkers in the front. Hidden bunkers protect both the right and left sides.
TEE INFORMATION
BLACK - 179
BLUE - 166
GOLD - 152
RED - 139
PAR - 3
Don’t let this relatively easy looking Par 3 fool you. While it is straight and not long, it is well protected by bunkers in the front, back, and right side making the green more difficult to hit than you may expect. Take your par and move on to the next hole.

TEE INFORMATION
BLACK - 413
BLUE - 399
GOLD - 346
RED - 341
PAR - 4
This dogleg left Par 4 will certainly challenge golfers of all skill levels. While it is not a long hole, it rewards a good tee shot. There are trees both left and right and a straight tee shot is required. The green is one of the toughest on the golf course, so check the pin sheet and attempt to get your approach shot on the correct level of the green. Three putts are not uncommon on this hole.
TEE INFORMATION
BLACK - 422
BLUE - 408
GOLD - 349
RED - 313
PAR - 4
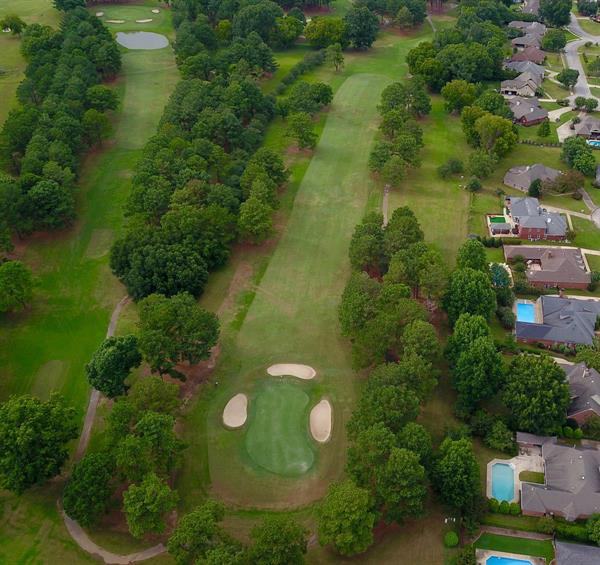
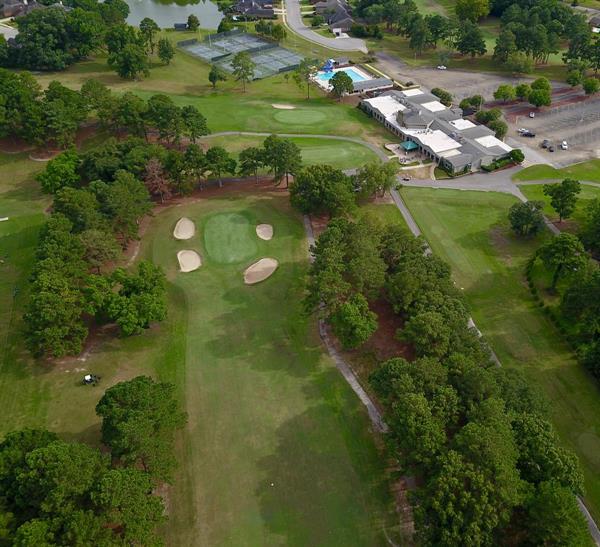
We finish the front side with a relatively long, straightaway Par 4 – but don’t be fooled, there is out of bounds on the left and trees on the right. The very large green is well protected by 4 large traps on all sides except the back, so an accurate approach shot is necessary. Par is a good score, but birdie is certainly possible.
TEE INFORMATION
BLACK - 361
BLUE - 350
GOLD - 292
RED - 289
PAR - 4
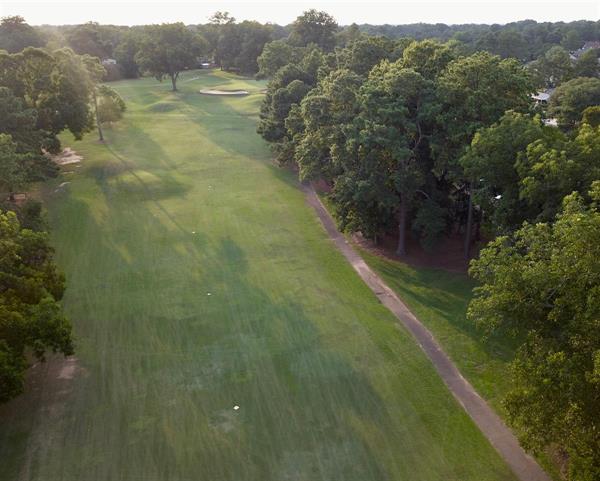
We start the back side with a relatively easy uphill Par 4, but don’t let your tee shot drift right. There are trees and out of bounds on the right and a large oak tree close to the green that can interfere with your second shot if you find yourself too far right. Cheat left off the tee and with a good shot you will have a short iron or wedge to the green. Don’t be short with your approach as there are bunkers in front on both the left and the right.
TEE INFORMATION
BLACK - 149
BLUE - 136
GOLD - 123
RED - 110
PAR - 3
The easiest Par 3 on Arrowhead golf course, but bogies are still common. This short hole has a green that is well protected by a large bunker that wraps all of the way around the front, left and right. An accurate short iron is essential or you are faced with a tough up and down for par.
TEE INFORMATION
BLACK - 401
BLUE - 386
GOLD - 305
RED - 301
PAR - 4
The only true dogleg right hole on the course. Watch out for out of bounds on the right and big hitters can easily hit the ball through the fairway if they don’t shape the shot left to right. Two bunkers - one in the front right, and one on the back left protect the green, so the approach shot is critical. Be careful of the subtle breaks on this difficult green.
TEE INFORMATION
BLACK - 387
BLUE - 374
GOLD - 368
RED - 303
PAR - 4
A very hard, dogleg left Par 4. Once again the tee shot is the key – out of bounds come in to play on both the right and left and there is a large tree that protects the left side of the fairway. Big hitters may be able to carry this tree and really shorten the hole, but most will try to place their tee shot between the large tree on the left and the fairway mounds on the right. The false front at the green fools many players so consider one more club when hitting your approach.
TEE INFORMATION
BLACK - 403
BLUE - 379
GOLD - 353
RED - 288
PAR - 4
Another dogleg left Par 4 with out of bounds both left and right. From the front 3 sets of tees, the dogleg is easily reachable making this a relatively easy Par 4, but from the Championship tees it is easy to get in trouble. Regardless of the tee box you are playing from, par is always a good score on this hole.
TEE INFORMATION
BLACK - 547
BLUE - 510
GOLD - 452
RED - 422
PAR - 5
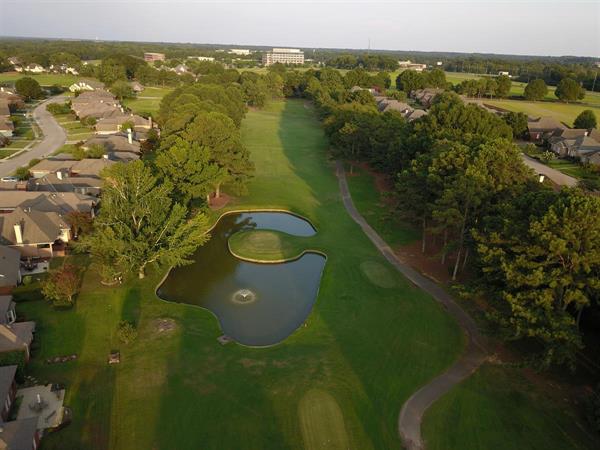
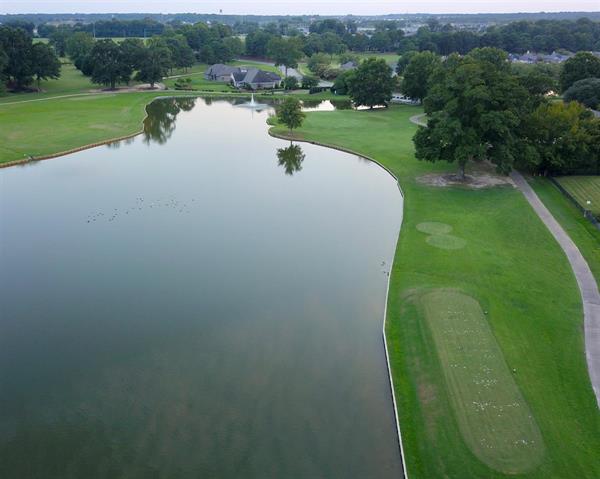
Talk about risk/reward holes, this Par 5 provides the perfect opportunity to check your intestinal fortitude. A well placed, well hit tee shot leaves most golfers with at least a remote possibility of hitting this green in 2 – but a long carry over water with no area between the lake and the green is what you will face. If you elect to hit a lay-up, you will only be left with a wedge or short iron to the green, but this shot is also over water making it a little more mentally challenging. While par is a decent score, more times than not it takes a birdie to tie or win.
TEE INFORMATION
BLACK - 193
BLUE - 183
GOLD - 166
RED - 160
PAR - 3
Our toughest Par 3! From the member tees this 180-yard hole looks daunting. With water all the way down the left side and behind the green, the tendency is to cheat a little right. This can leave the player with a very difficult up and down for par. Take your par, be thankful, and go on to the next hole. A birdie will almost always win this hole.
TEE INFORMATION
BLACK - 379
BLUE - 369
GOLD - 333
RED - 329
PAR - 4
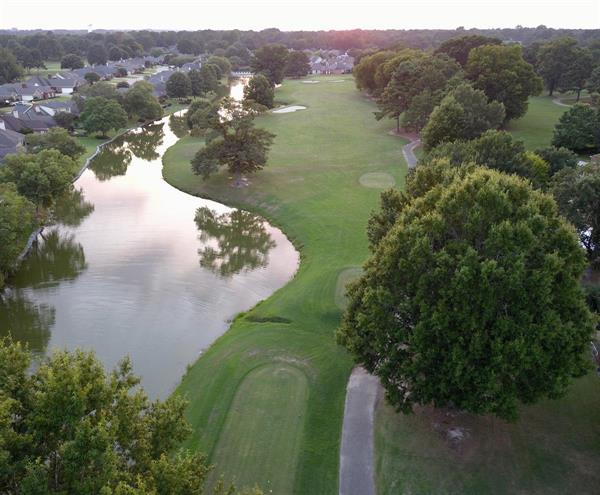
This Par 4 features the only fairway bunker on the golf course. Tucked over on the left side, it helps protect wayward shots from reaching the water, but the water is still in play. Hit a straight tee shot and you are left with a medium to short iron to the well-protected green. Don’t go long as there is out of bounds behind the hole or a tough up and down for par. While birdies are not uncommon, par is a good score.
TEE INFORMATION
BLACK - 540
BLUE - 531
GOLD - 472
RED - 407
PAR - 5
Get your bets right before stepping up on this finishing Par 5. Only reachable in 2 by the longest of hitters, it is easily reachable in regulation if you keep the ball in play. There is only one bunker protecting this green and it is hidden on the left side.